Note – Since this article was published, it is now possible to use Windows as the OS. If you do not want to use Ubuntu Refer toRTL1090 ADS-B Decoder for Windows. Operating System
The next step is to install the Linux software. Even though there are several Linux distributions available, I highly recommend using Ubuntu 12.04 for this project. If you did not install a DVD rom in your build, then you will need to install Ubuntu from a USB stick. You will need to download the Ubuntu 12.04 ISO disk image on another computer. If you are using a Windows computer, follow the instructions found on the Ubuntu site to create a bootable Linux USB stick. On most newer motherboards you can plug in the usb stick, power up the computer, and hold down the F12 key. The computer will then ask which device you want to boot from. Select the usb stick. After Ubuntu boots, you can then use the install icon to install Ubuntu to your hard drive.
GNU Radio and Gr-Air-Modes
To allow the RTL-2832U stick to decode the ADS-B data, you will need to install GNU Radio and Gr-Air-Modes. Go to this article and follow the instructions for installing GNU Radio and Gr-Air-Modes. You may want to go ahead and install Virtual Radar Server so you can test the system. Come back here when you get that all working.
Sharing If you would like to share your data with the public I would recommend using Flightradar24. You can download their Linux sharing program here. Using the program is very simple, just download the program into a folder on the RTL-ADSB1. Start gr-air-modes in a terminal window. Open an additional terminal window and type the command listed in the forum thread for the version you downloaded. Gr-air-modes sends ADS-B data over port 30003 and the Flightradar24 listens for data over port 30003. If you have problems with this you may have to open port 30003 on your router. You will also need to contact Flightradar24 via email to get you sharing key for the Linux version.
Final Thoughts When you are finished, you will need to start up gr-air-modes, the Flightradar24 sharing software if you want to share your data. You will also need to start up Virtual Radar Server if you are using it for your local display. A nice feature is that it has a built in web server and you can access the aircraft display from a web browser on another machine. As mentioned before, once all the software is up and running, you can run the the system headless. One thing you might want to consider is using a “startup script” so that if the power goes out, the software will restart automatically when you turn the machine back on. Maybe one of our readers will be kind enough to post in the comments the best way to accomplish this, since my experience with Ubuntu doesn’t go that deep (yet). As was mentioned earlier, if you are sharing data with Flightradar24, you can use one of their apps to monitor your data. Overall, even with the included whip antenna with RTL2832U / R820T DVB-T stick, this little system actually does a very impressive job of receiving aircraft that are transmitting ADS-B data. No, it probably does not compare with the far more expensive commercial systems, but if you are curious about the ADS-B monitoring hobby its a great way to get started. If you have questions about this project, please post them in our ADSB Forum.
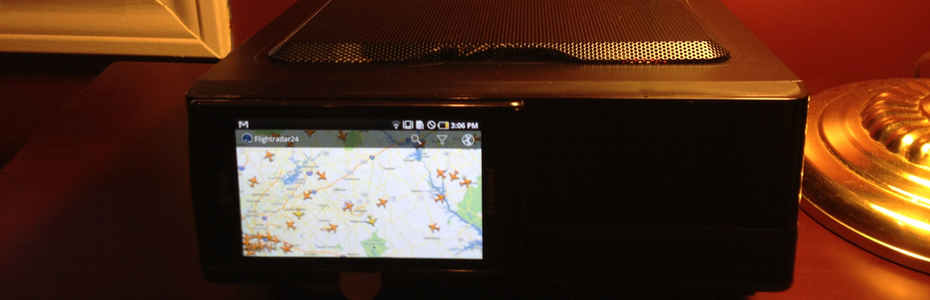
Finished RTL-ADSB1 with optional displays Here are couple of photos using the Flightradar24 app on a couple of Android devices. The first shows the App running on an old Android phone attached to the front of the RTL-ADSB1 system. The second photo shows a 7″ Android tablet with the Flightradar24 app being used for a display. Inexpensive Android tablets can be found for around $69 – $79. They aren’t great android tablets, but they will work as a touch screen display.
RTL-ADSB1 Receiver with Android Phone Display
One thought on “Building an Inexpensive ADS-B Receiving and Sharing Station”
Please edit first page of article, because introduced to the wrong way of thinking.
Raspberry is fully sufficient for adsb station.
I’m using 3 apps:
– dump1090 feeding data from RTL dongle and hosting at TCP/IP port
– adsbox feeding data from TCP/IP AVR format and hosting at TCP/IP port (BaseStation 30003)
– FR24 app everyone knows
Consume no more than 40% of the CPU.
In addition – the authors of dump1090 and adsbox working on fusing adsbox to dump1090
Look on my screen from Raspberry PI
http://i.imgur.com/bxv3Z.png
Best Regards
Radek